LeadAngel lets you create Round Robin teams to evenly distribute Leads, Contacts, Accounts, Opportunities, or assignments among sales reps. This automated system ensures fair lead distribution.
A Round Robin team is ideal for structured lead assignments. If you have 10 leads and 3 reps, the first lead goes to Rep 1, the second to Rep 2, the third to Rep 3—then the cycle repeats.
Sales teams typically include SDRs (Sales Development Representatives) and ISRs (Inside Sales Representatives), who are the first point of contact for leads.
¶ Roster Sequence
Each rep is assigned a queue position:
The first lead goes to the first rep, who then moves to the bottom of the list. Removing a member updates the sequence automatically. New members join at the bottom.
¶ Queue Management
Queue Management in LeadAngel controls how leads are assigned within a sales team. Each team has its own queue settings, ensuring fair lead distribution. The Queue Owner must be a LeadAngel user, and configurations apply wherever the team is used.
¶ How to create a Round Robin Sales Team
Users can create multiple Round Robin teams based on their needs. A single team can be used across different blocks within one router or in multiple routers.
| Important Note: If a sales team is assigned to objects other than Lead Management and has a queue assignment, the system will assign accounts, contacts, or opportunities to the queue. The queue positions will be maintained visible as per the assignments in different objects. |
¶ Steps to Create a Round Robin Sales Team
1. Log in to LeadAngel
Go to app.leadangel.com.
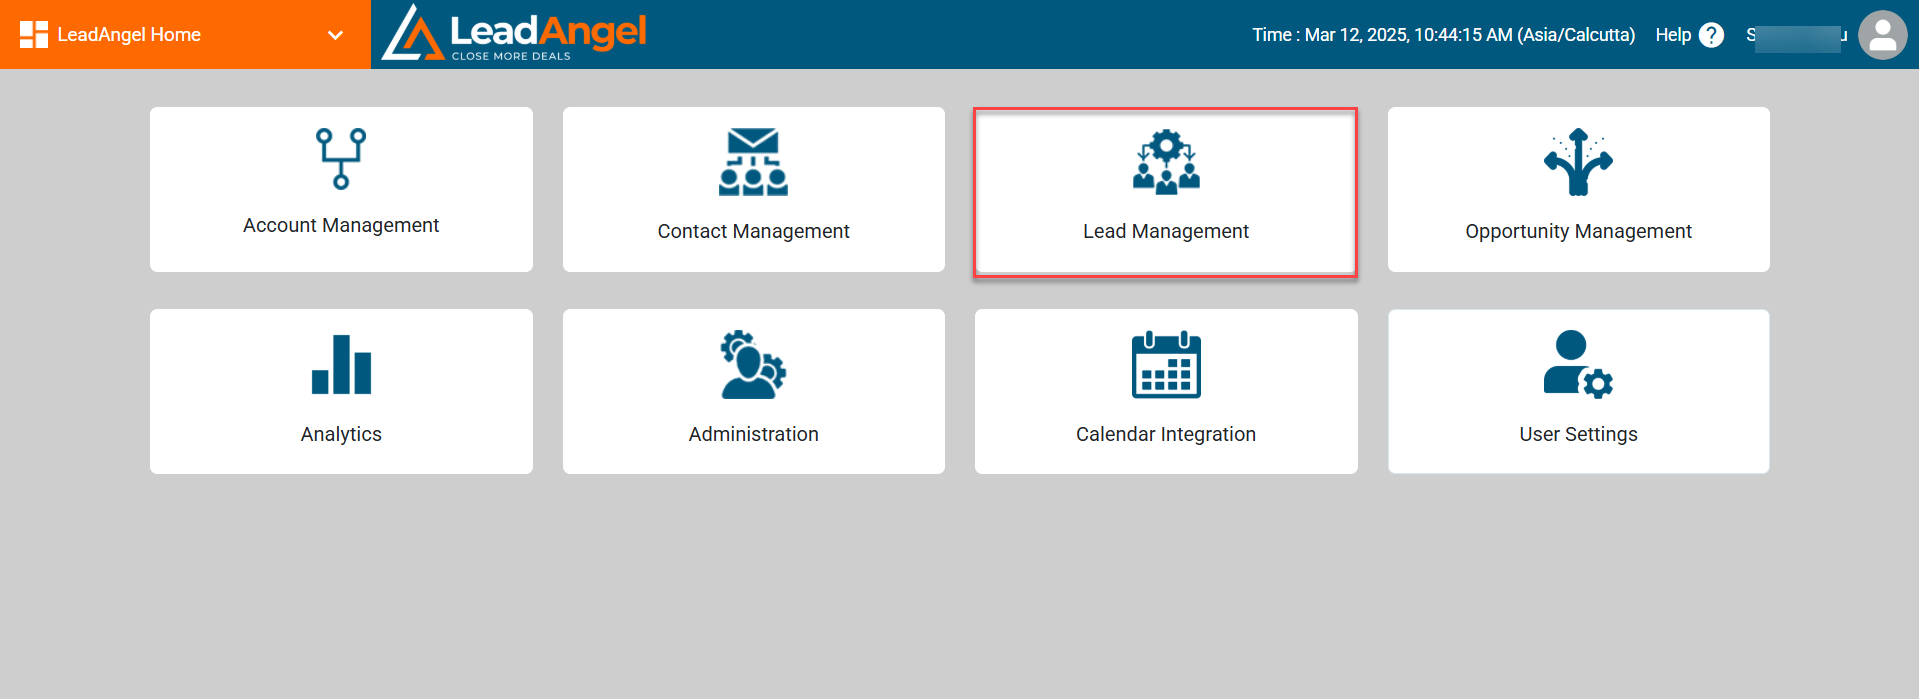
Click on any router, such as Lead Management, Contact Management, Account Management, or Opportunity Management.
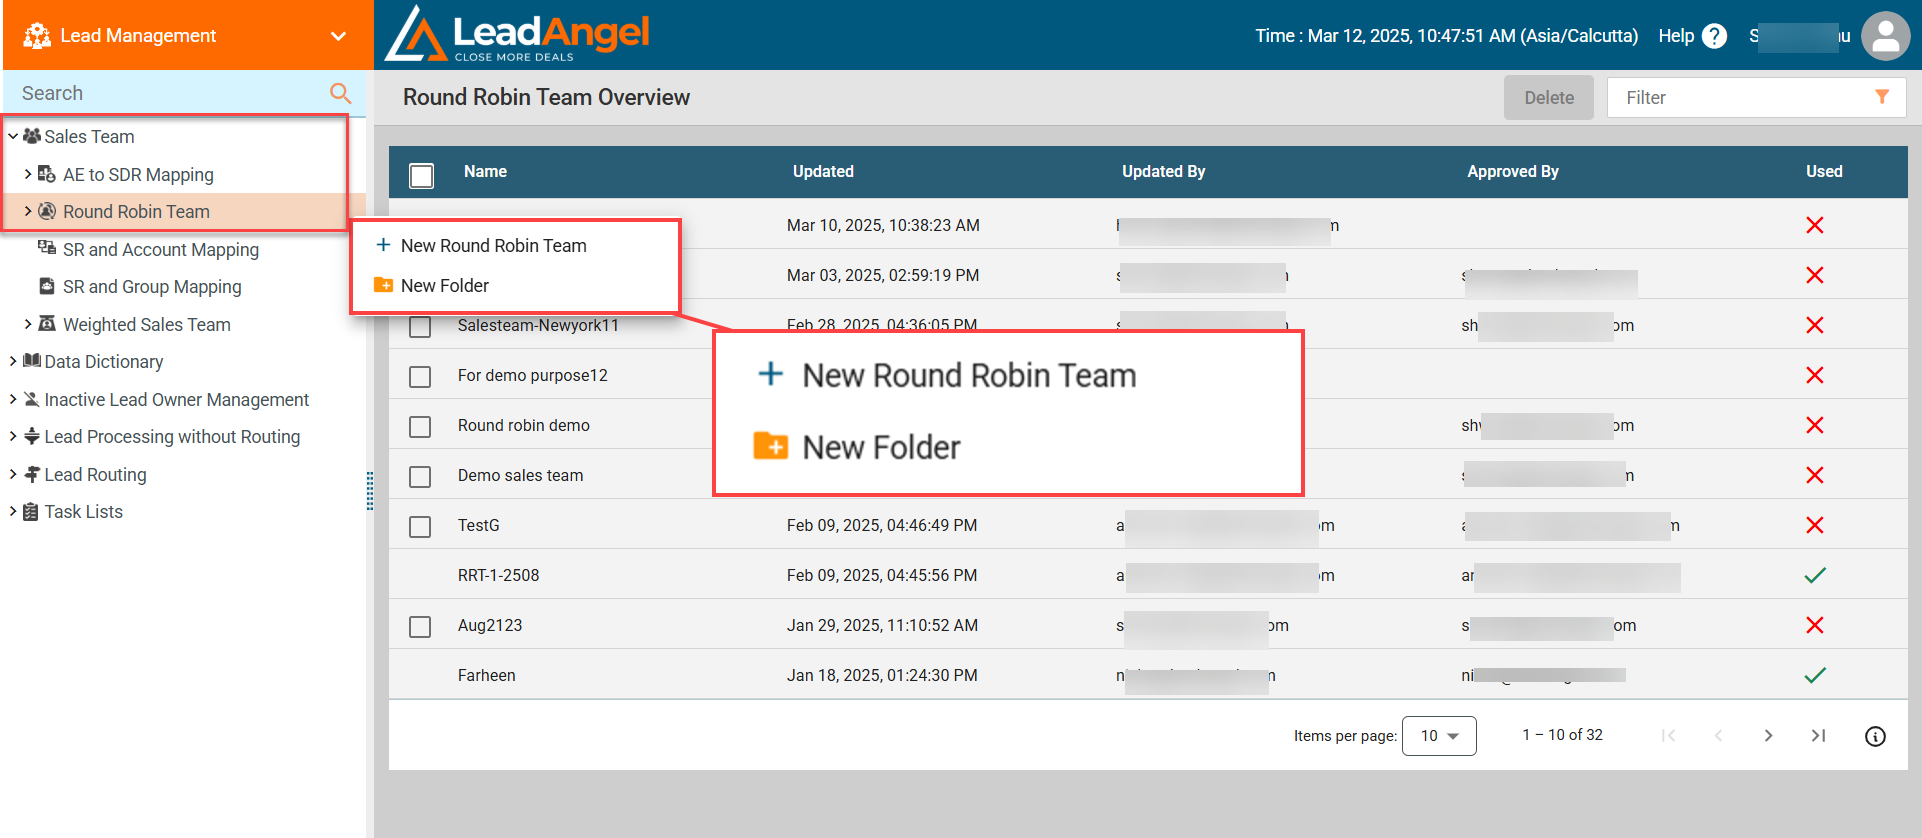
Navigate to Lead Management and click Sales Team.
2. Create a New Round Robin Team
Click Sales Team, right-click Round Robin Team, and select + New Round Robin Team.
The Add New Round Robin Team dialog box appears.
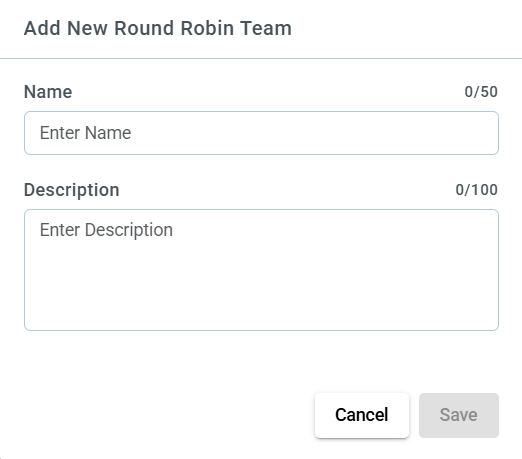
Enter a unique team name and a description in the respective fields, then click Save.
3. Configure Sales Rep Attributes
The Sales Rep Attributes section appears on the right side, displaying Sales Rep Attributes.
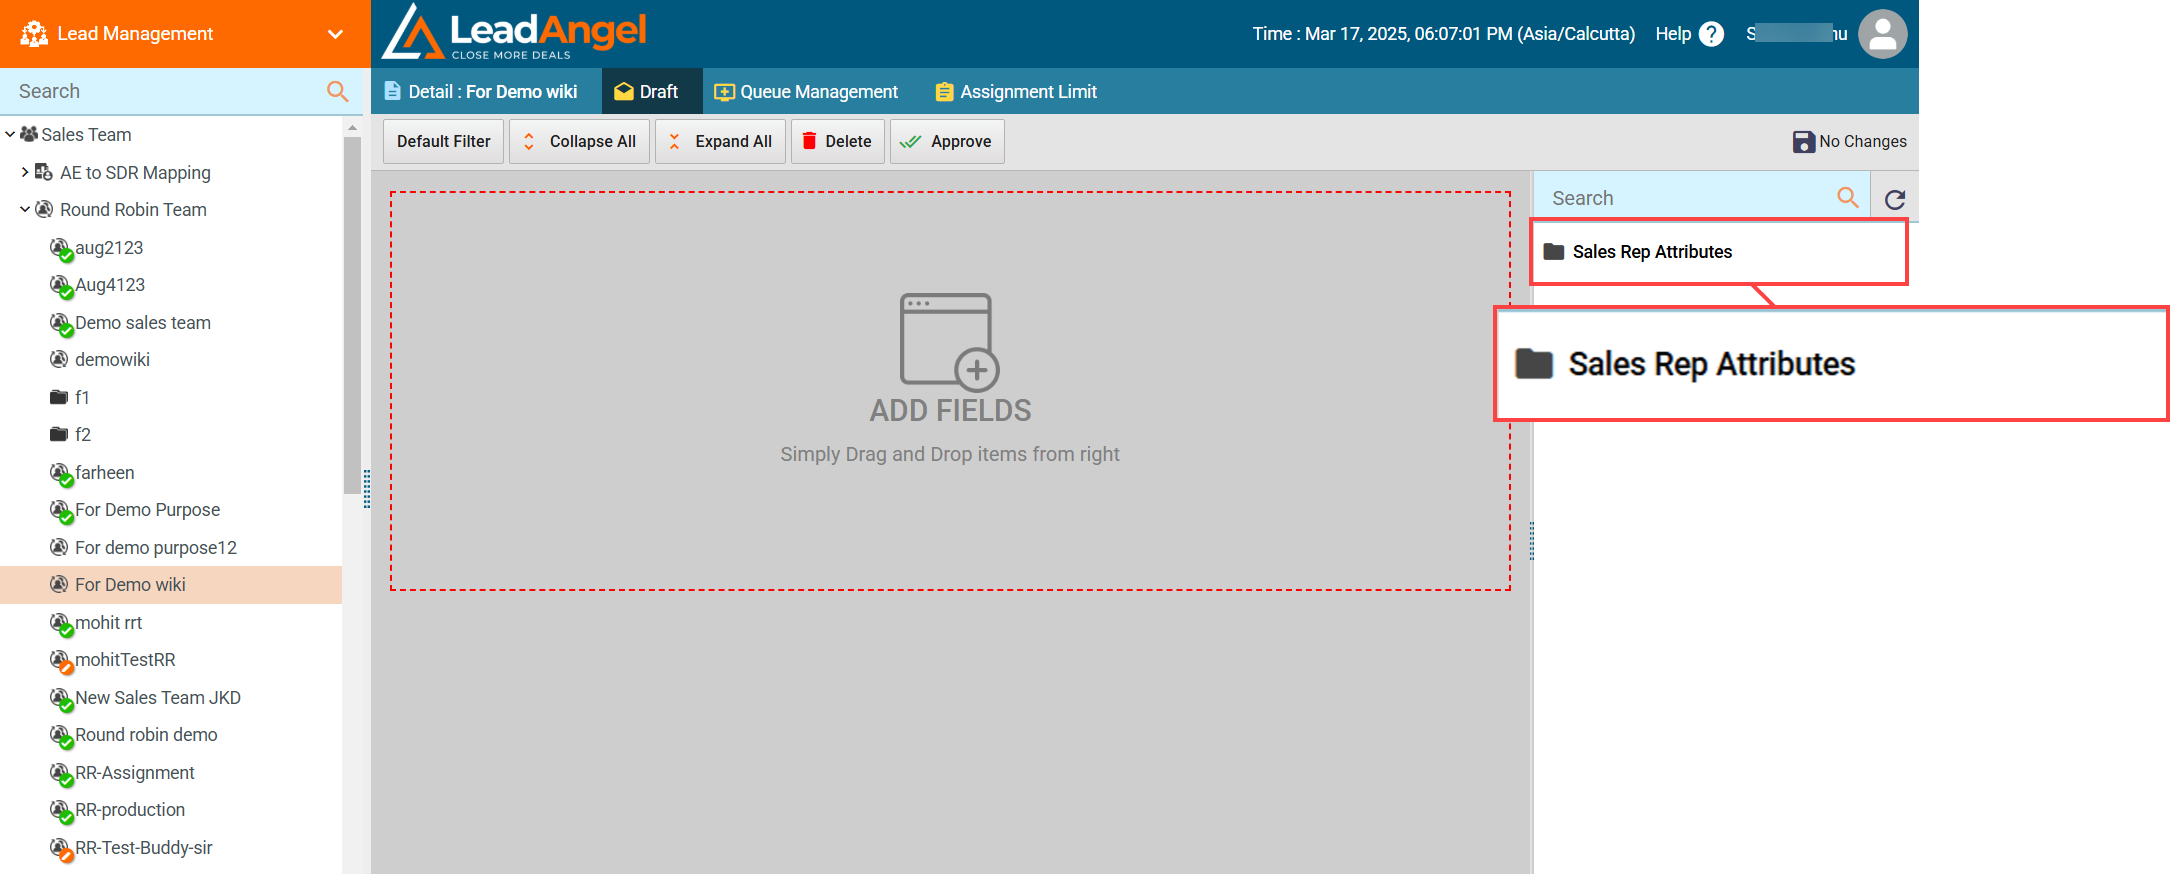
Drag and drop the required attributes into the ADD FIELDS section.
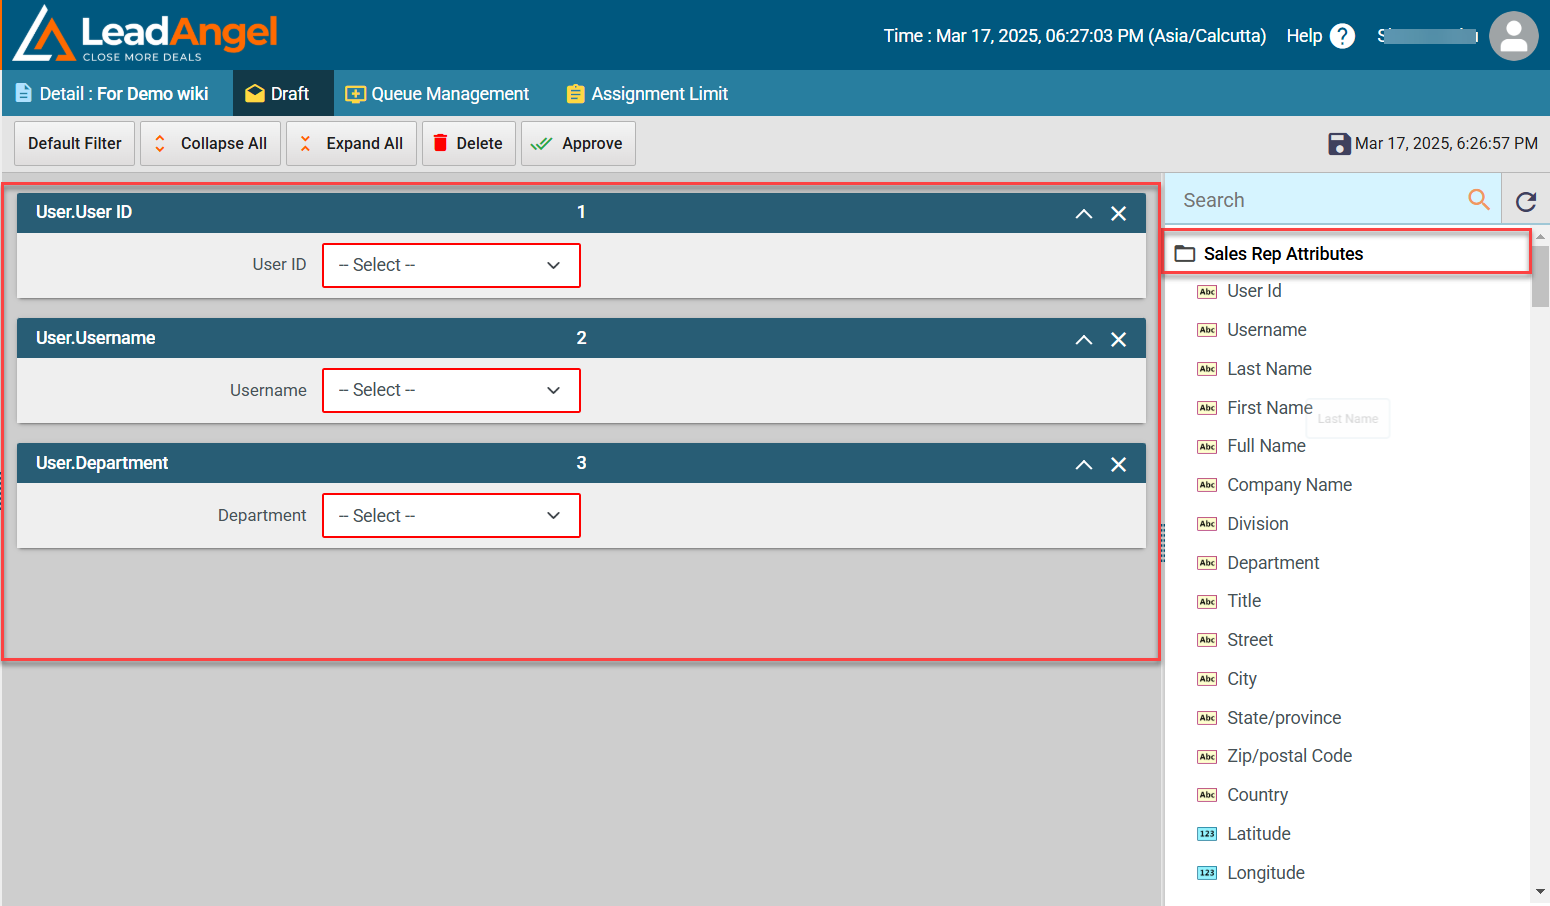
Now select the condition from the drop-down list, the list consists: contains, does not contain, starts with, does not start with, is empty, is not empty, in, and not in.

Once the condition is selected, a blank text box will appear, enter the field value you want to include in your sales team
Example: If you select User ID as an attribute and choose "contains" as the field value, you will need to enter the User ID that you want to include in your sales team.
Similarly, if you select Username and choose "in", you will have to select the usernames that should be part of the team from the available options.
If needed, repeat the process for other attributes like Username or other filters.
Use the Search box to find specific attributes.
Click Approve to finalize the configuration and apply the changes to your sales team.
4. Apply Filters
Click Default Filter and select the desired filter.
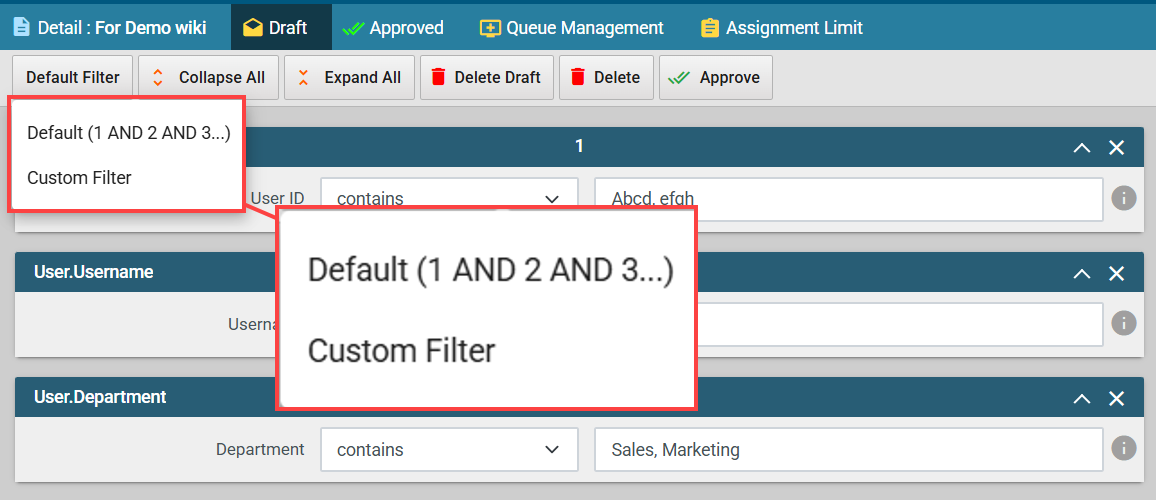
For a custom filter, click Custom Filter and enter the criteria.
Example: If attributes Full Name and City are selected: Setting 1 OR 2 includes users from either the Full Name or City list. Setting 1 AND 2 includes only users matching both Full Name and City. Using ! (NOT filter), e.g., 1 AND !2, includes users from Full Name but excludes those from City.
5. Assign a Queue Owner and Fallback assignee
Click on the Detail tab for further information.
6. Manage Queue Settings
Click on the Queque Management tab.
7. Check Assignment History Report
Click on the Assignment History Report
8. Set Assignment Limits
Click the Assignment Limit tab to set assignment limits.